Getting started with your Canary Care hub
With our new and improved technology, it couldn’t be easier to get your Canary Care smart hub and sensors up and running. From the moment you get your kit, our handy app will guide you through the process step-by-step, and you’ll be ready to support independent living in no time at all.
Step-by-step
From set up to safer, smarter care
Whether you’re a care professional bringing a Canary Care solution into someone’s home, or you’re a family member who’s just had a delivery, we’ll take you from boxed to better living in just a few steps.
Step 1
Plug in the Canary Care hub
When your hardware arrives for the first time, you’ll see an insert explaining exactly how to get started.
- The first step is to plug in your all-new Canary Care smart hub.
- It’s important to place it somewhere within strong range of Wi-Fi to make sure you get the best connection.
- After a few minutes, you’ll be ready to begin the rest of your set up.
Step 2
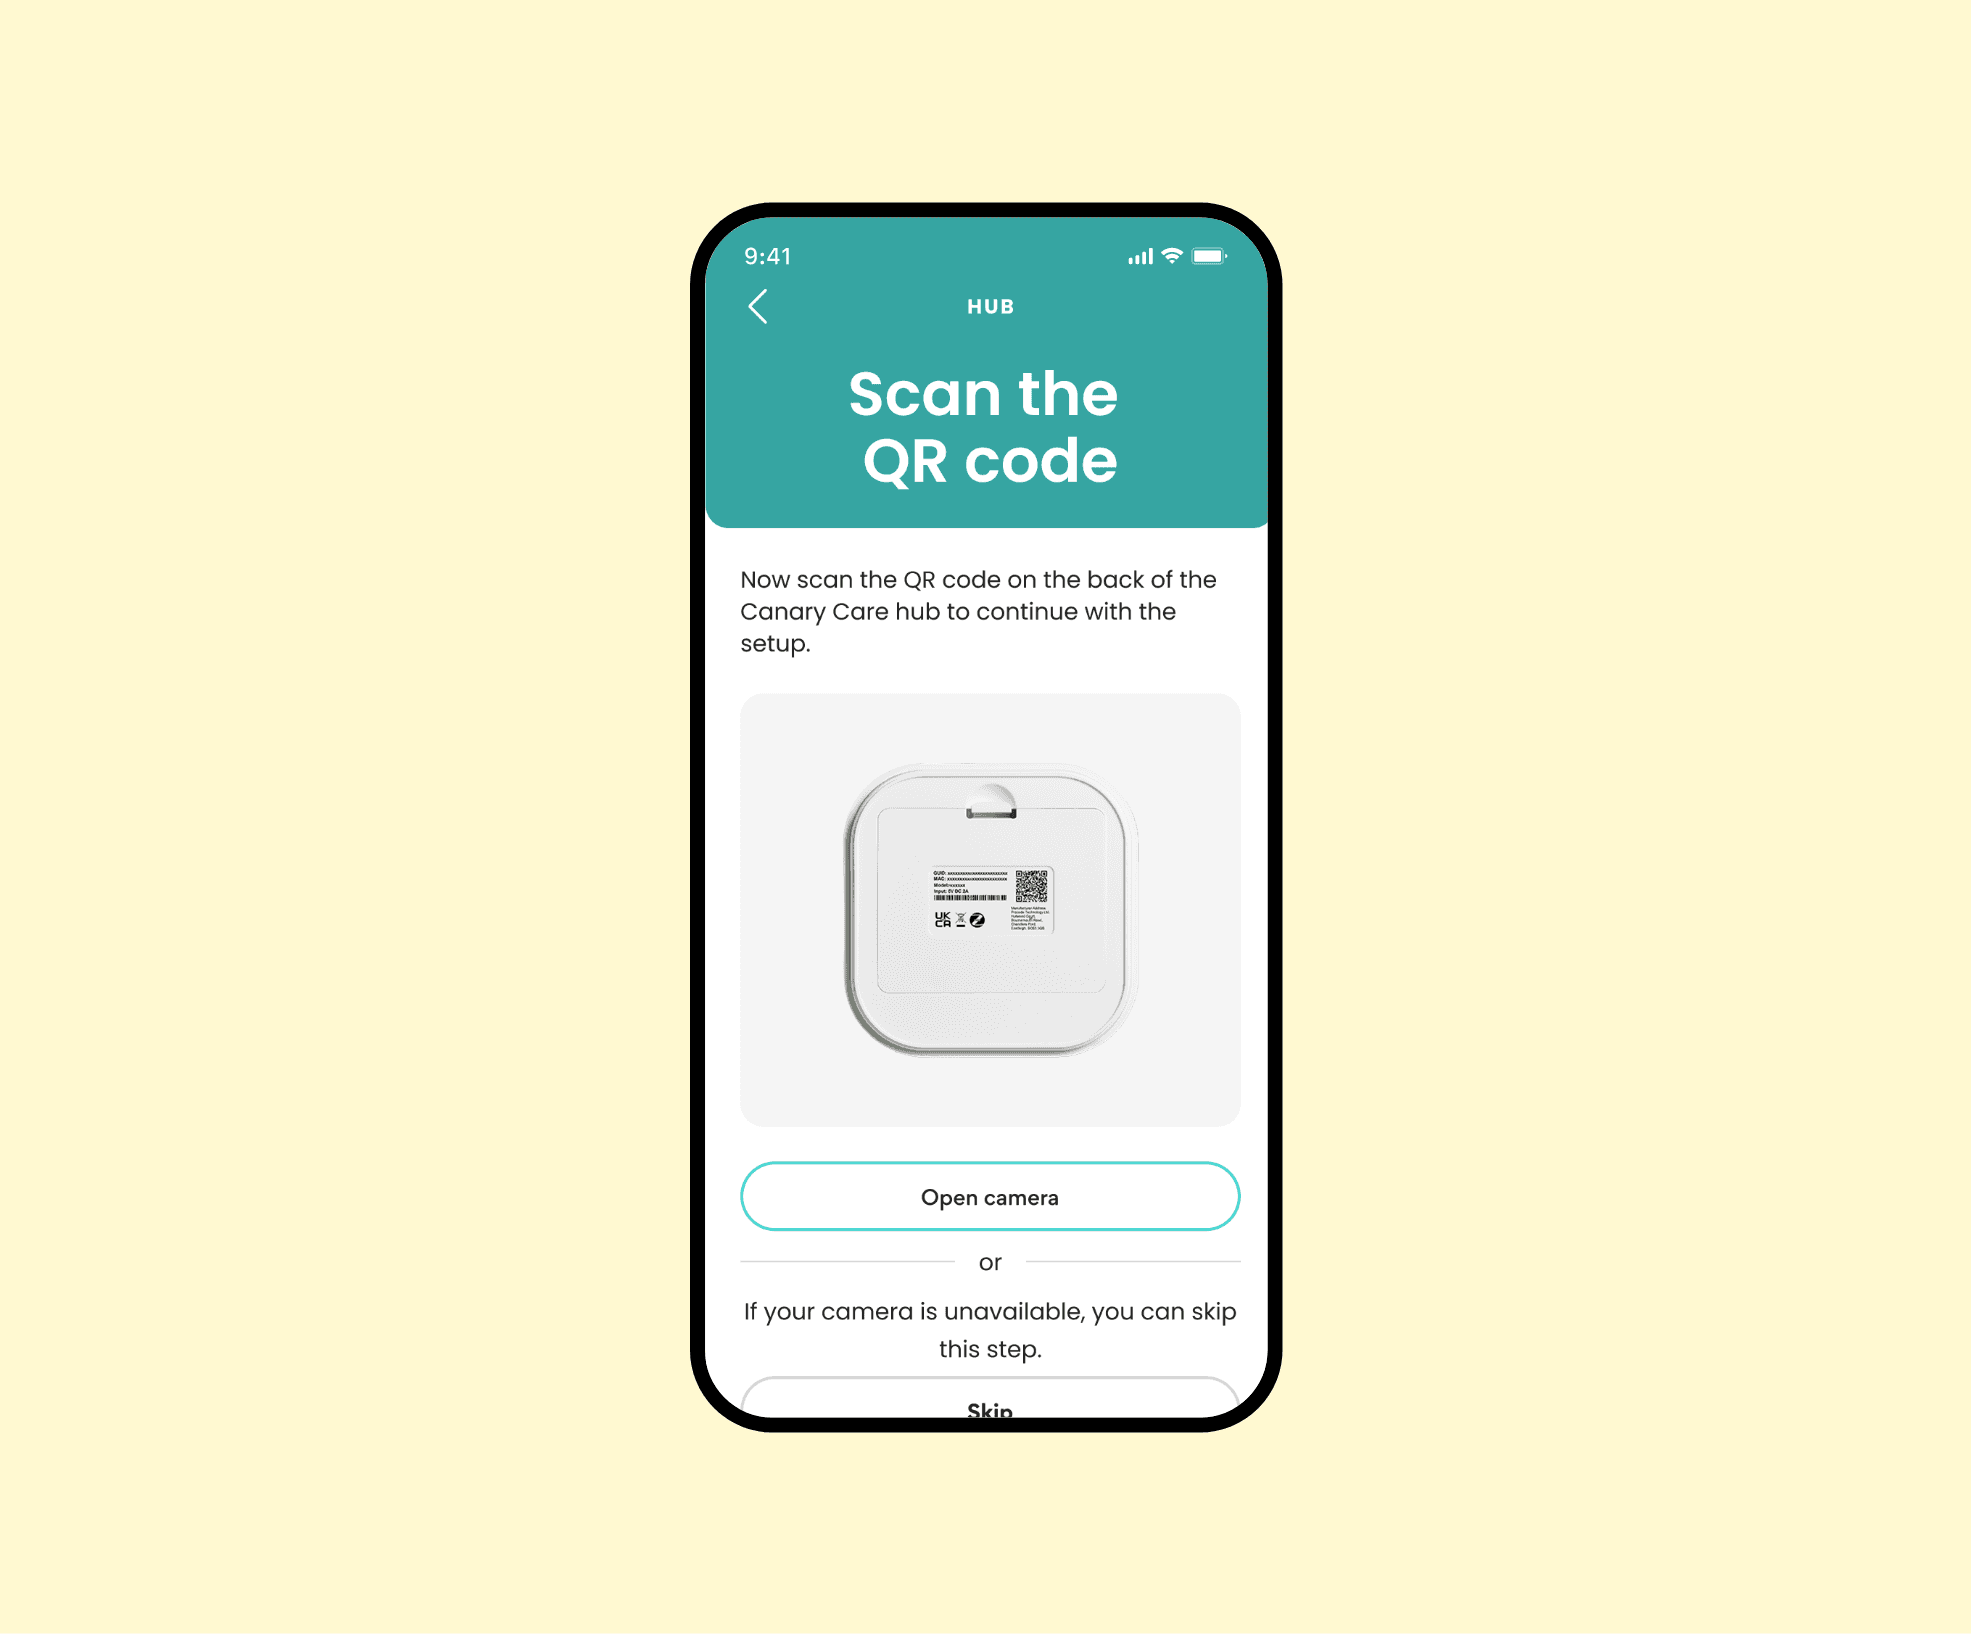
Scan the QR Code
You’ll find a QR Code on the back of your Canary Care hub, which links your device to the Canary Care app for a quick, secure start.
- Open your phone’s camera or QR scanner and point it at your hub’s QR Code – then click the link that pops up.
- If you already have the Canary Care app, it’ll detect your device ID automatically and open up your app.
- If not, the QR Code will take you to your app store, and once downloaded, just scan the QR Code again.
- The Canary Care app is also linked below if you’d like to get a head start!
Step 3
Get connected
Once inside the app, you’ll be prompted to connect your Canary Care hub to your phone’s Bluetooth for initial set up.
- Make sure your Bluetooth setting is turned on and keep your phone close to the Canary Care hub.
- Once connected, follow the on-screen instructions inside the Canary Care app to connect to your Wi-Fi network.
- You may need to wait a few minutes for confirmation your hub is online, but the app will tell you when it’s ready to synced to your sensors.
Step 4
Set up your sensors
Now your Canary Care hub is connected, it’s time to place your sensors.
- We’ll guide you through exactly how to set up each type of sensor (motion, door and humidity), and we’ll give you tips for the best sensor placement.
- Once placed, you’ll be prompted to pair and label your sensors so you know which one’s which.
- You’ll need to start with the sensor furthest away from your Canary Care hub, and then work your way closer until they’re all in sync.
Step 5
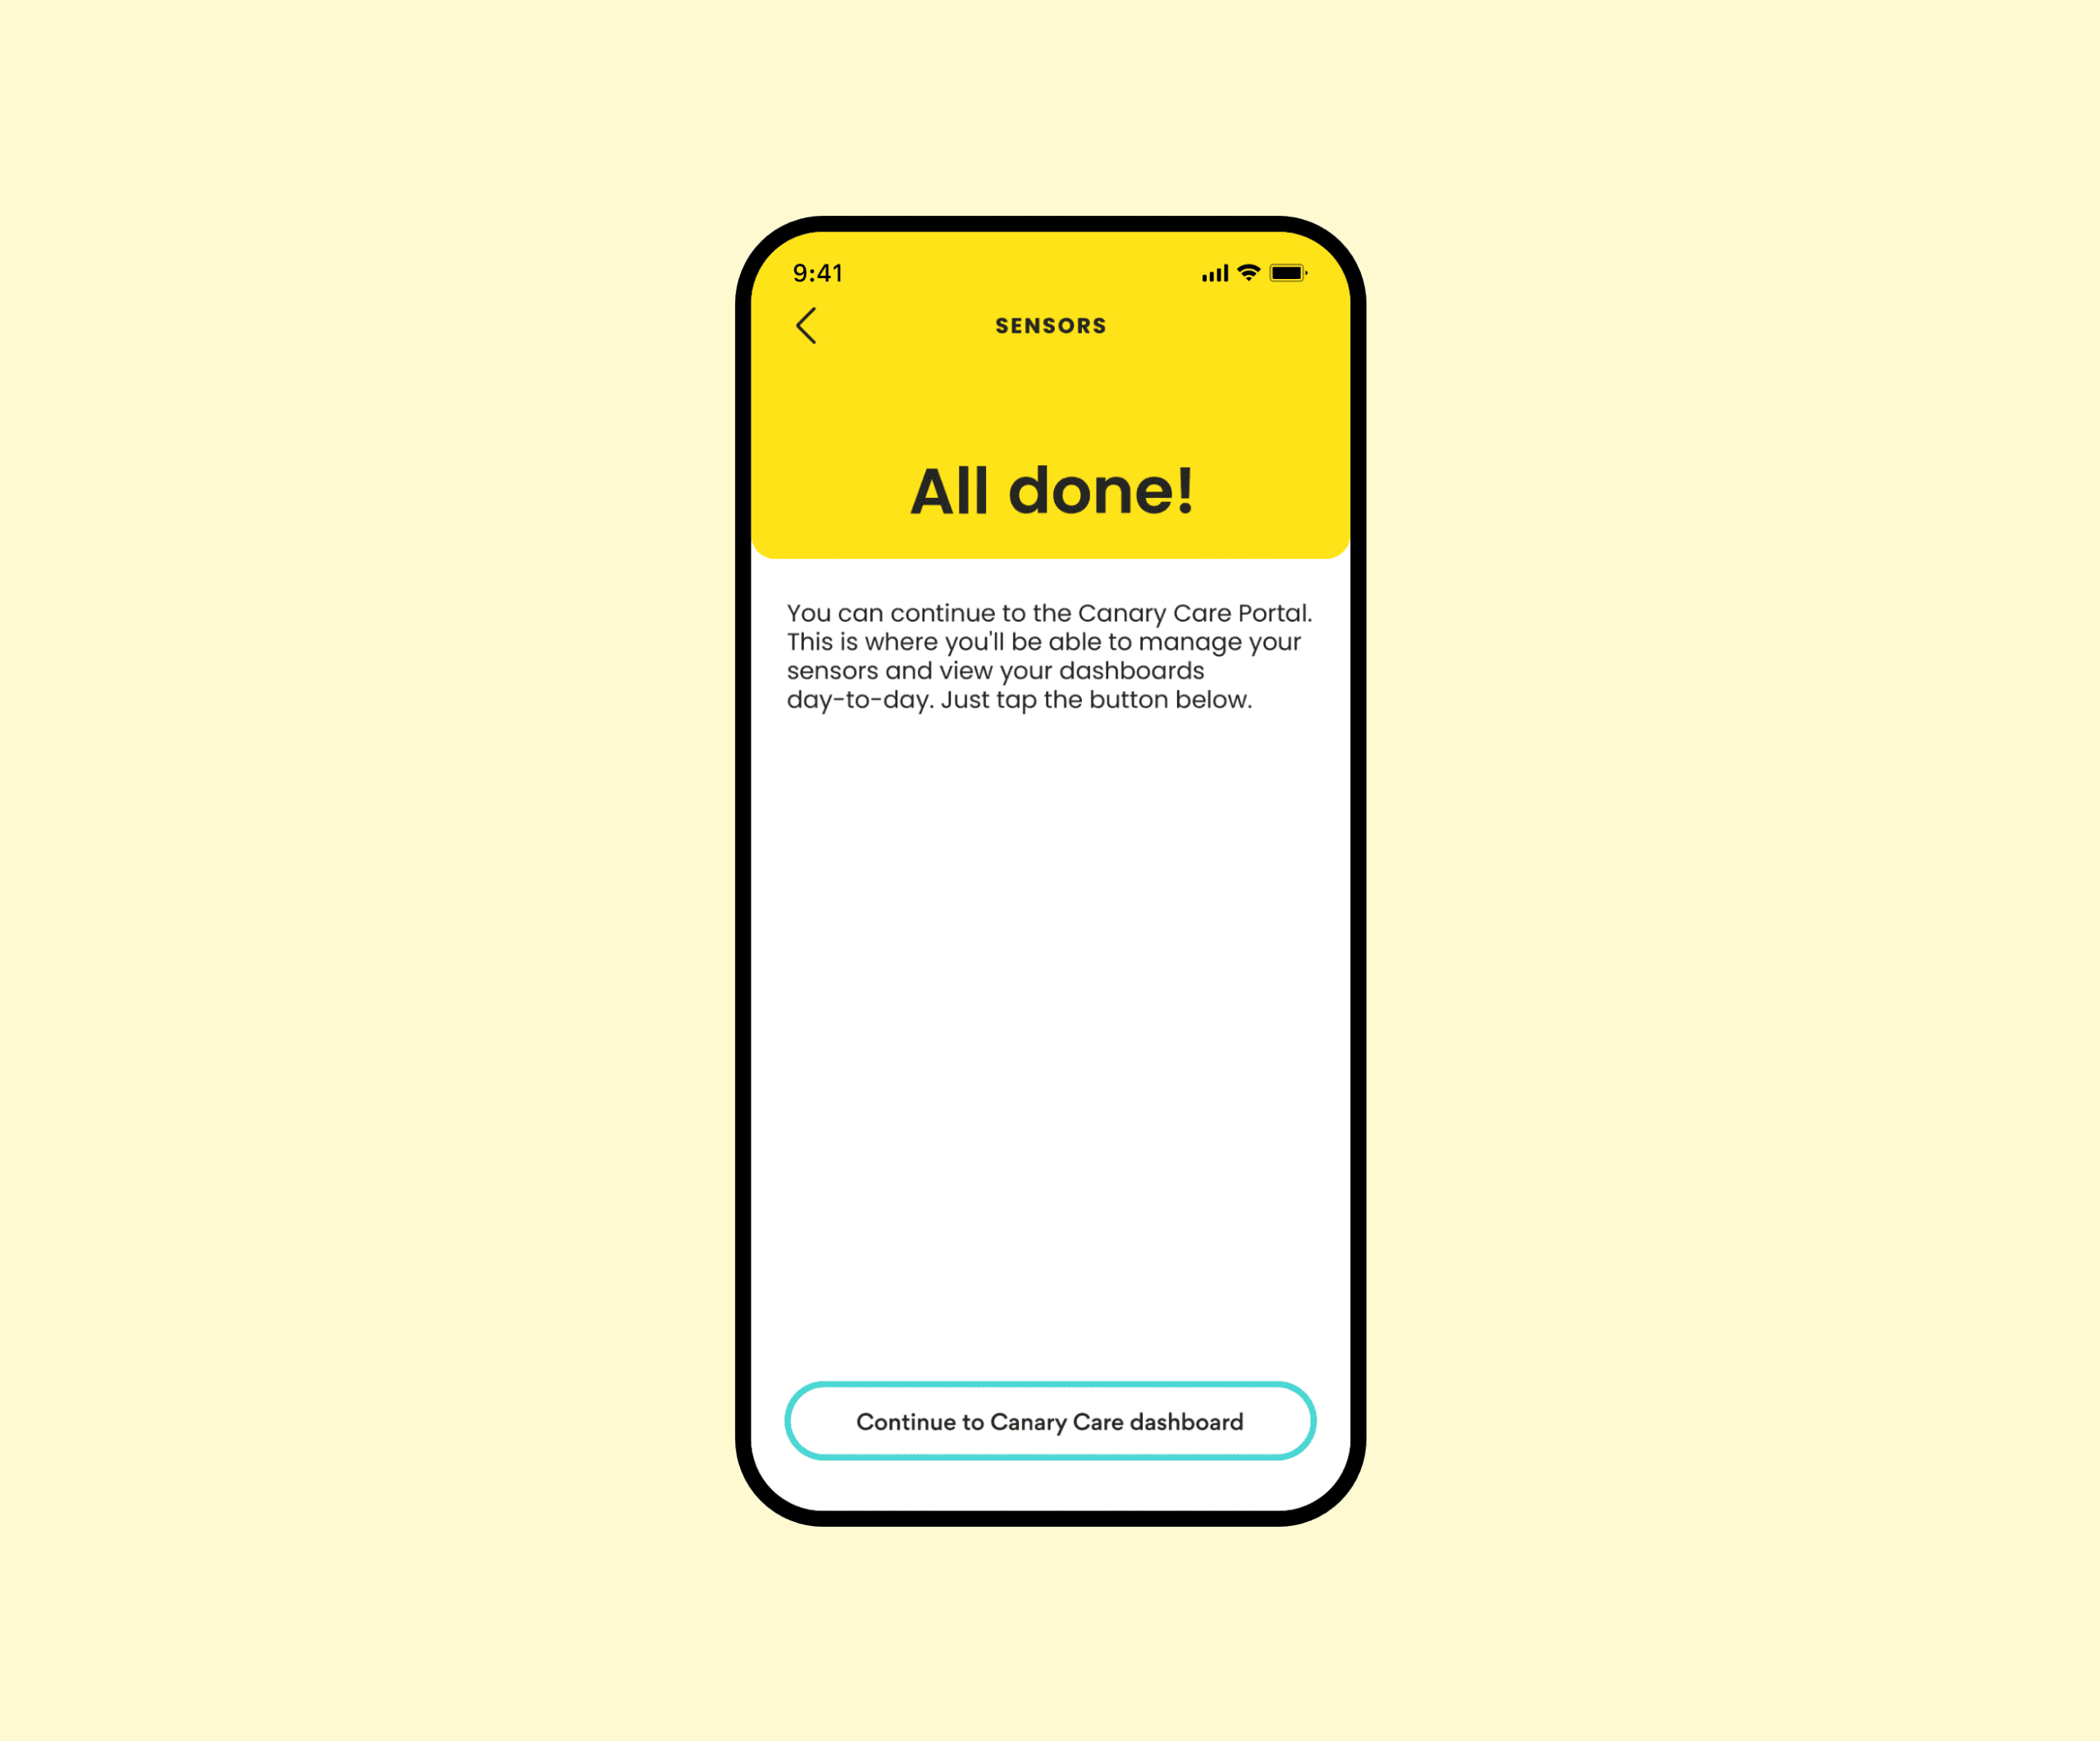
You're all set!
Once all sensors are paired, your system is ready to go! Your app will let you know set up is complete and signpost you to the Canary Care Portal, where you’ll manage your system day-to-day.
- Monitor motion, temperature, light and humidity and view insights at the touch of a button.
- Start making personalised care plans based on activity data.
- Get peace of mind knowing individuals are safe and living independently at home.
System management
What next?
Finished setting up your Canary Care smart hub and sensors? Monitor everything with actionable insights at your fingertips in the Canary Care Portal.
Canary Care Portal
